Introduction
In the fast-paced digital world where sharing a visual can tell a story faster than a thousand words, having the right tools at your disposal isn’t just convenient—it’s essential. Welcome to the ultimate guide to finding the best snipping tool for Windows 11, where we dive deep into the essentials of capturing your screen with finesse and precision. Whether you’re a seasoned tech professional, a budding designer, or someone who loves to keep a visual record of important moments, this article is tailored for you.
Windows 11 has revamped its approach to screenshots, offering both built-in solutions and inviting a plethora of sophisticated third-party tools to enhance your experience. But with so many options, how do you choose the one that best fits your specific needs? Fear not, because we’re about to break down everything from user-friendly interfaces to feature-packed utilities that promise to make every pixel count.
Transitioning seamlessly from the dusty old ‘Print Screen’ key to innovative screenshot software can feel like a leap – but it’s a leap worth taking. With high-definition displays and versatile editing features now the norm, the tools you use need to keep up. So, let’s get right into discovering how these tools can not only capture your screen but also capture the essence of what makes visual communication so powerful today.
Why You Need the Best Snipping Tool for Windows 11
In the age where content is king and speed is the queen, having the best snipping tool for Windows 11 at your fingertips is not just about capturing screens—it’s about capturing opportunities. Imagine you’re in the middle of a crucial webinar, and the presenter shares a graph that perfectly encapsulates the market trends you’ve been tracking for weeks. With the right snipping tool, that crucial information can be yours in a flash, ready to be saved, shared, or embedded in your next big presentation.
But why settle for basic functionality when you can enhance your workflow with tools that offer more? Windows 11 isn’t just another operating system; it’s a gateway to enhanced productivity and creativity. The best snipping tools integrate seamlessly with this OS, offering features like timed snapshots, direct editing capabilities, and even OCR (Optical Character Recognition) to convert images of text into editable documents.
For professionals across all fields—from educators creating visual aids, tech support teams providing clear step-by-step guides, to digital marketers capturing and annotating user interface improvements—efficiency is key. A superior snipping tool doesn’t just save time; it enhances the quality of your outputs and the effectiveness of your communication.
Moreover, in a world where remote work has become the norm, the ability to quickly share what’s on your screen can bridge the gap between what’s said and what’s understood in virtual meetings. Whether it’s a quick bug fix shown to a developer or a design element shared with a client, the right tool ensures your point isn’t just made, but also visually underscored.
Transitioning into the next section, where we will explore a range of tools designed to cater to these needs, keep in mind that the best snipping tool for your Windows 11 device should align with your work style, productivity demands, and creative aspirations. Let’s delve into the specifics of what each tool offers and how they can transform the simple act of taking a screenshot into an integral part of your digital prowess.
Comprehensive Review of Top Snipping Tools for Windows 11
Choosing the best snipping tool for Windows 11 is no small feat, given the plethora of options available that promise to boost your productivity and streamline your workflows. Whether you’re a graphic designer, a software developer, or just someone who loves keeping organized digital notes, the right tool can make a world of difference. Here’s a detailed look at some of the top contenders on the market today.

Built-in Snipping Tool: A Reliable Classic
First on our list is Windows 11’s own built-in Snipping Tool. This tool has evolved from its earlier versions and now offers more intuitive user interfaces and delayed snip features, allowing you to capture dropdown menus and tooltips with ease. While it may not boast the advanced functionalities of some third-party tools, its integration with Windows and zero cost make it an excellent choice for casual users.
Snip & Sketch: The Next Step in Snipping Evolution
Replacing the old Snipping Tool in earlier versions of Windows, Snip & Sketch adds annotation and more editing features, making it a versatile choice for those who need to quickly jot down notes or mark up images for presentations. The ability to sketch on screenshots immediately after taking them—without the need for opening another app—makes Snip & Sketch a standout for efficiency and simplicity.
Third-Party Tools: Expanding Your Horizons
For those who need more robust functionalities, third-party tools come into play. Here are a few standout options:
- Snagit: Known for its comprehensive set of features including panoramic scrolling captures and advanced video recording capabilities, Snagit is ideal for professionals who need more than just basic screenshots.
- Lightshot: Famous for its speed and simplicity, Lightshot allows for quick and easy screenshots with basic editing options. It’s perfect for users who prioritize speed and aren’t looking for complex functionalities.
- ShareX: This open-source tool is a favorite among tech-savvy users for its customizability and powerful workflow integrations. From automated uploads to a plethora of file destinations to advanced scripting, ShareX can be a game-changer for those who need to process a high volume of screenshots.
Each of these tools offers unique strengths, tailored to different types of users. While Snagit may appeal to professionals looking for an all-in-one solution, Lightshot and ShareX offer simplicity and customization that can suit varied individual needs.
Transitioning from evaluating the individual tools, it’s crucial to understand how to match these tools to your specific needs. As we move forward, we’ll explore what factors you should consider to choose the best snipping tool for your Windows 11 setup, ensuring that your selection not only meets but exceeds your expectations.
How to Choose the Best Snipping Tool for Your Needs in Windows 11
Navigating through the ocean of snipping tools available for Windows 11 can feel overwhelming. How do you zero in on the best snipping tool for Windows 11 that not only meets but enhances your daily digital interactions? Let’s cut through the noise with some focused criteria that can guide your decision.
1. Understand Your Specific Needs
Before diving into the features of different tools, it’s essential to pinpoint what you need from a snipping tool. Are you capturing high-res images for professional design work? Do you need to annotate images for detailed feedback? Or are you a power user who requires advanced automation features? Identifying your primary use case is the first step towards making an informed choice.
2. Evaluate the Feature Set
- Ease of Use: Look for tools that fit seamlessly into your workflow. If speed is your priority, a tool with a simple interface and one-click capture abilities might be your best bet.
- Editing Capabilities: For those who need to annotate or edit images frequently, choose a tool that offers robust editing features without having to switch between applications.
- Integration Options: Consider whether you need a tool that integrates with other software you use, like project management tools or cloud storage services.
3. Consider Performance and Reliability
A great snipping tool doesn’t just work well; it works well consistently. Check user reviews and ratings for insights into a tool’s reliability. Performance issues like lagging or software crashes can disrupt your workflow significantly.
4. Look at Pricing and Value for Money
While some snipping tools are free, others come with a price tag that reflects their additional features. Weigh the cost against the benefits: a free tool might be sufficient for casual users, but professionals might find more value in paid tools that offer more advanced functionalities.
5. Check for Regular Updates and Support
The digital landscape is constantly evolving, and so should your tools. Ensure that the tool you choose is regularly updated to keep up with new Windows 11 features and security protocols. Support availability is also crucial—being able to rely on timely help can make all the difference.
Choosing the right tool involves balancing these factors with your personal or professional requirements. As we smoothly transition into the practical application of these tools, let’s move forward with a step-by-step guide on using your chosen snipping tool effectively. By understanding the ins and outs, you can leverage these tools to not just capture, but truly enhance your digital communications and creative expressions.
Step-by-Step Guide to Using Your Snipping Tool in Windows 11
Once you’ve chosen the best snipping tool for Windows 11, mastering its use can transform your productivity and creativity. Whether it’s for capturing a quick screenshot, annotating a design mockup, or sharing an error message across your team, following these steps can help you maximize the tool’s potential.

Step 1: Accessing Your Snipping Tool
- Built-in Tools: You can quickly access the Snipping Tool or Snip & Sketch by searching for them in the Start menu or by using the shortcut key
Win + Shift + S. - Third-Party Tools: Most third-party tools offer customizable shortcuts. Install your chosen software and set up a hotkey that suits your workflow for rapid access.
Step 2: Choosing the Right Snip Type
- Rectangular Snip: Ideal for capturing a section of the screen.
- Freeform Snip: Best for capturing a non-rectangular shape or when you need more control over the area being captured.
- Window Snip: Captures an entire window with one click.
- Fullscreen Snip: Takes a screenshot of your entire screen.
Step 3: Capturing the Screenshot
- Activate your snipping tool using the chosen method.
- Select the type of snip you want to perform.
- Click and drag (or just click, for window or full screen) to capture the desired area.
Step 4: Editing and Annotating
- Utilize the editing features of your snipping tool. Most tools offer markers, pens, and highlighters.
- Annotate directly on the capture to draw attention to key aspects or explain features shown in your screenshot.
Step 5: Saving and Sharing Your Snip
- Once you’re satisfied with your snip, save it in your preferred format, commonly PNG or JPG.
- Share directly from the snipping tool if supported, or attach it to emails, presentations, or chat messages as needed.
Step 6: Advanced Features to Explore
- Explore advanced features like delayed snips, which are perfect for capturing dropdown menus or tooltips.
- Some tools also offer direct upload to cloud services, saving you time if you frequently need to share your captures online.
Each step in using your snipping tool can help streamline communication and documentation in your work environment. With practice, these tools become an extension of your digital toolkit, essential for efficient and effective communication.
As we’ve mastered the basics and explored advanced functionalities, let’s look into how these tools can be integrated into everyday professional scenarios. Moving forward, the discussion will evolve from technical how-to to practical applications in real-world contexts, enhancing not just your ability to take screenshots but to communicate visually in a digital-first world.
Expert Tips to Maximize Your Snipping Tool’s Efficiency
Enhancing your productivity with the best snipping tool for Windows 11 involves more than just knowing how to capture a screenshot. It’s about integrating these tools into your daily tasks to streamline your workflow and boost your efficiency. Here are expert tips that help you get the most out of your chosen snipping tool.

Optimize Your Shortcut Keys
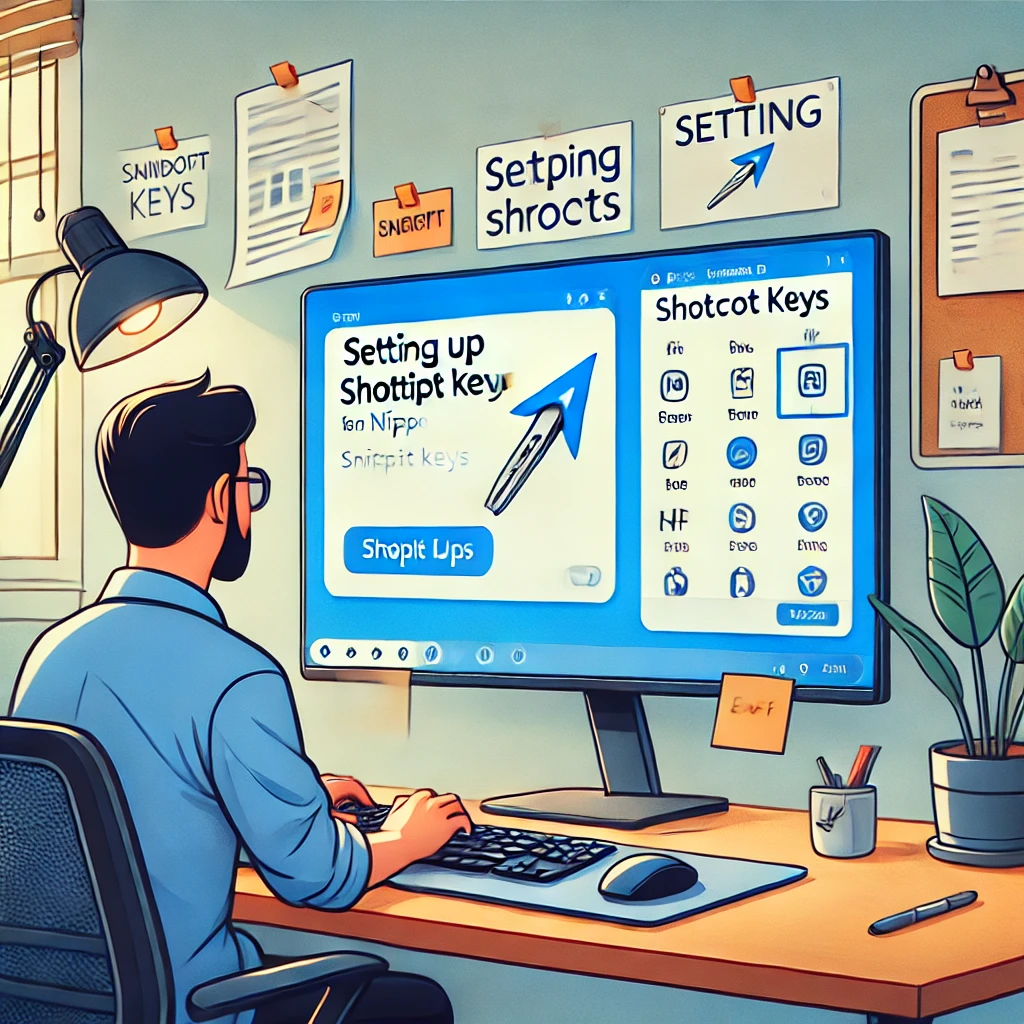
- Customize your shortcut keys through the settings of your snipping tool. By assigning a snip action to a specific key combination that you find intuitive, you can reduce the time it takes to initiate a screenshot, making your workflow smoother and faster.
Utilize Built-In Editing Tools
- Maximize the use of built-in editing features. Tools like annotation, highlighting, or adding text can significantly enhance the communicative power of your screenshots. This allows for clearer instructions, quicker feedback, and more effective collaboration.
Leverage Delayed Capture
- Make use of the delayed capture feature for capturing dropdown menus, hover information, or other temporary visuals. This feature, where available, lets you set a timer, giving you enough time to prepare the screen exactly how you want it before the tool takes the snapshot.
Automate Repetitive Tasks
- If your snipping tool supports it, automate repetitive tasks such as saving in a specific format or uploading directly to cloud storage. This can save valuable time if you frequently handle a large number of screenshots.
Integrate with Other Applications
- Integrate your snipping tool with other applications you use frequently. For example, linking it directly with project management software or communication tools can streamline the process of sharing screenshots, reducing steps and saving time.
Keep Your Tools Updated
- Regularly check for updates to your snipping tool. Updates can bring new features, compatibility improvements with Windows 11, and crucial security patches that help keep your workflow smooth and secure.
By implementing these strategies, you can transform your snipping tool from a simple screenshot utility into a powerful extension of your digital toolkit. These tips not only enhance your productivity but also ensure that your communications are sharp and professional.
As we transition from these optimization strategies to exploring real-world applications, let’s consider how these enhanced capabilities can redefine our interactions and presentations in a professional setting. The next section will delve into practical scenarios showcasing the transformative impact of these tools in everyday business communications and creative processes.
While you’re enhancing your Windows 11 with the best snipping tools, don’t forget you can also speed up your Windows 10 performance; learn how with our comprehensive guide.
Screenshot Solutions: Beyond the Basics in Windows 11
While the best snipping tool for Windows 11 offers remarkable capabilities right out of the box, the real magic happens when you begin to explore beyond the basics. These advanced techniques not only streamline your workflow but also open up new avenues for creativity and efficiency in your digital communications.
Expand Your Screenshot Repertoire with Scrolling Captures
- Ever needed to capture more than just what’s visible on your screen? Scrolling screenshots are a game-changer. Some tools allow you to capture an entire webpage or a lengthy document in one continuous image. This is ideal for professionals who need to capture online resources, lengthy chats, or technical documents for thorough review or archiving purposes.
Automate with Scripting and Shortcuts
- Advanced users can utilize scripting features to automate repetitive screenshot tasks. Whether it’s capturing the screen at scheduled intervals or triggering a capture with specific keyboard shortcuts, automation can significantly cut down your manual efforts. Tailoring these scripts to your needs can transform a simple snipping tool into a powerful automated system that fits seamlessly into your tech ecosystem.
Harness the Power of OCR
- Optical Character Recognition (OCR) technology within snipping tools can convert screenshots of text into editable and searchable documents. This is particularly useful for educators, researchers, and professionals who work with a lot of textual information and need a quick way to digitize and manipulate data from various sources.
Utilize Integrated Cloud Storage
- For professionals on the go, tools that offer direct uploads to cloud storage ensure that your screenshots are immediately available across all your devices and can be shared instantly with colleagues or clients, enhancing collaboration and communication efficiency.
Explore Third-Party Integrations
- Integrating your snipping tool with other applications can dramatically increase its utility. For instance, linking it directly to your email client for quick sharing or to a project management tool can streamline workflows and reduce the friction of switching between applications.
By pushing the boundaries of traditional screenshot tools, you can unlock robust solutions that cater to complex professional needs. This approach not only saves time but also enhances the clarity and effectiveness of your communications.
As we transition from these advanced solutions to addressing your direct questions and curiosities in the following section, let’s dive into the frequently asked questions that many users have about maximizing the potential of their Windows 11 snipping tools. This will not only clarify common uncertainties but also explore lesser-known features that can elevate your screenshot experience.
Unveiling Secrets: Your Questions Answered
As we continue to explore the best snipping tools for Windows 11, many of you have voiced questions that dig deeper into the capabilities and nuances of these tools. Let’s address some of the most common inquiries, unraveling the secrets that can help you maximize your use of these essential utilities.
Can I edit images directly in Windows 11 snipping tools?
- Absolutely! Both the built-in Snipping Tool and Snip & Sketch offer basic editing features, allowing you to mark up your screenshots with pens, highlighters, and more. For more advanced editing capabilities, third-party tools like Snagit provide extensive options that include resizing, annotations, and advanced effects to enhance your images.
Are there free snipping tools that offer advanced features?
- Yes, there are several robust free options available that provide more than just basic functionality. Tools like Greenshot and ShareX not only offer comprehensive screenshot capabilities but also include features like OCR, automated tasks, and integration with other software, making them highly versatile without impacting your budget.
How do I quickly access a snipping tool in Windows 11?
- Quick access is key for efficiency. You can open the Snipping Tool using the
Win + Shift + Sshortcut, which lets you instantly start a new snip. Configuring hotkeys in third-party tools can also streamline this process, ensuring you’re always just a keystroke away from capturing the screen.
What formats can I save my screenshots in?
- Windows snipping tools typically allow you to save screenshots in popular formats such as PNG, JPEG, and GIF. Third-party tools may offer additional format options like TIFF or BMP, providing flexibility depending on your project needs or quality requirements.
How can I share my screenshots more effectively?
- Sharing screenshots can be as simple as using Windows integrated options to send via email or social media. For a more streamlined approach, consider tools that offer one-click upload to cloud services like Dropbox, Google Drive, or directly to platforms like Slack or Trello, enhancing team collaboration and feedback loops.
By addressing these questions, we aim not only to clarify but also to empower you with the knowledge to choose and use your snipping tools more effectively.
As we wrap up our discussion on the ins and outs of snipping tools in Windows 11, let’s recap the key takeaways and consider how you can apply these insights to elevate your digital workflow. Moving forward, the next section will consolidate our learning into actionable steps, ensuring you leave equipped to tackle any screen capture challenge with confidence.
Capture the Moment: Conclusion & Next Steps
As we’ve explored the best snipping tools for Windows 11, it’s clear that the right tool can significantly enhance your digital interactions—whether you’re capturing critical business data, creating engaging content, or simply sharing moments that matter. The journey from the basic built-in options to advanced third-party solutions demonstrates a wide spectrum of possibilities tailored to meet various professional and personal needs.
Harnessing the Power of Your Snipping Tool
- Embrace the capabilities of your chosen tool to streamline your tasks. Whether it’s capturing informative tutorials, design feedback, or quick bug reports, let your snipping tool bridge the gap between information and communication.
Integrating Snipping with Daily Workflows
- Think of your snipping tool as an integral part of your daily workflow. Integrate it with other tools and platforms you use to maximize productivity and enhance collaboration. The time saved and the increase in efficiency can be substantial.
Keeping Your Tools Updated
- Stay updated with the latest features and improvements. Regular updates not only bring new functionalities but also ensure compatibility and security with Windows 11, making your snipping experience smooth and reliable.
Expanding Your Knowledge
- Continue to learn and adapt. The digital world evolves rapidly, and staying informed about new tools and technologies can provide you with a competitive edge and new ways to express your creativity.
As you move forward, remember that the best snipping tool for Windows 11 is the one that fits seamlessly into your lifestyle and enhances your ability to communicate visually. We invite you to try out the tools we’ve discussed and discover how they can transform your screenshot game.
Looking Ahead
- Stay tuned to our blog for more in-depth reviews, updates, and tips on leveraging technology to enrich your digital experience. Whether you’re a seasoned tech guru or just starting out, we’re here to help you navigate the ever-changing tech landscape.
As this conversation about snipping tools wraps up, consider how you can apply these insights not just to take screenshots, but to capture the essence of your digital life. Let’s make every click count and every screen capture tell a story.
For further insights into optimizing your digital workflow, check out the latest industry best practices.


